Virtual Reality(VR) in the gaming industry continues to stand the tallest even as the adoption of VR by diverse industries is at an all-time high. This is because game engine giants like Unity have brought VR and Gaming together in a much simpler way than one might anticipate.
It empowers global businesses with real-time creativity. Unity is so much more than just the world’s best real-time development platform – it’s also a robust ecosystem designed to enable business success.
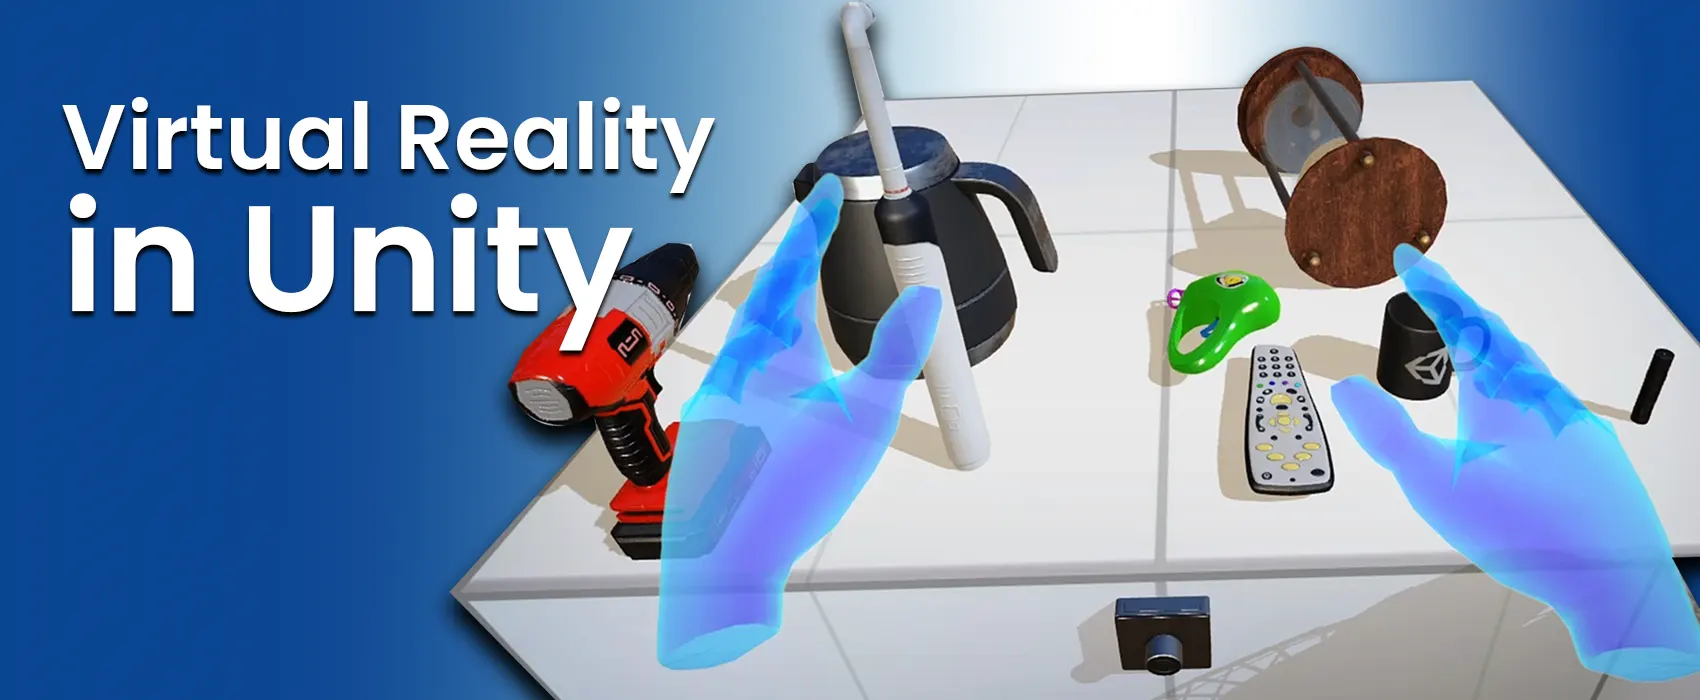
For instance, at Queppelin, we’ve created VR experiences in Unity for numerous clients across industries that are not necessarily a game, rather they are gamified in a sense.
If you’re eager to learn and create VR experiences or games, learning Unity should be your top focus. So let’s delve into all the details you need to know about creating a VR experience in Unity. But first things first, what really is Virtual Reality?
Virtual Reality: A Brief Overview
Virtual Reality (VR) is a computer-generated simulation of a three-dimensional environment that can be interacted with in a seemingly real or physical way by a person using special electronic equipment, such as a headset with a screen or screens inside or gloves fitted with sensors.
Thanks to the “magic” of Virtual Reality, you’ll feel completely immersed in the game like physically running and kicking the ball- all while lounging on your couch!
Now to truly comprehend how VR works, let us talk about what Unity is and how it integrates VR technology to build such amazing experiences.
What is Unity?
Unity is a cross-platform game engine that is widely used for building virtual reality (VR) and augmented reality (AR) experiences.
Today, more than 50% of games across mobile, PC, and console are made with Unity.
Using Unity, developers can create immersive VR experiences by building 3D environments and adding interactive elements, such as audio, video, and animations. Unity supports VR development for a wide range of VR devices, including the Oculus Rift, HTC Vive, and PlayStation VR.
Unity can offer a lot of the crucial built-in features that are necessary for a game to function. That means things like:
- Physics
- 3D rendering
Additionally, the website features an ever-expanding “Asset Store,” which serves as a medium for developers to publish their works and make them available to the general public. This has given people a chance to compete with much larger organizations and is a game-changer for many, many independent creators and businesses.

Want stunning woodwork but lack the time to create one yourself? You can discover something through the asset store.
Want to include tilt controls in your game without having to spend hours fine-tuning the sensitivity? There’s surely an asset for that too!
As a result, the game creator is free to concentrate on creating a distinctive and enjoyable experience while only developing the features specific to that vision.
Why Unity is the Go-To VR Platform?
Learning the principles of game engines, their principal coding languages, and their plugins is a must for creating a VR experience in Unity.
The good news is that Unity allows you to accomplish a lot without much coding. However, knowing how to program will greatly expand your options for what you can accomplish.
In other words, learning Unity with C# is an excellent way to get started with coding, especially since C# is one of the programming languages that are more beginner-friendly
It’s also worth noting that Unity is compatible with all platforms, meaning that you can design VR experiences for almost all available technology, including PC, Linux, PlayStation, etc.
What Language does Unity use?
Unreal uses C# to handle code and logic, with a whole bunch of classes and API’s that you will need to learn. The good news is that it’s possible to get an awful lot done in Unity without needing to handle a lot of code. That said, understanding how to program will create many more options for what you can achieve, and Unity gives you the flexibility to change almost everything.
Luckily, C# is widely used in the industry and also shares a lot in common with other popular languages such as C and Java.
2 Main Elements of VR- 3DoF and 6DoF
The degree of freedom (DoF) determines the motion in a VR environment. When it comes to DoF in VR, there are two choices: 3 degrees of freedom (3DoF) or 6 degrees of freedom (6DoF).

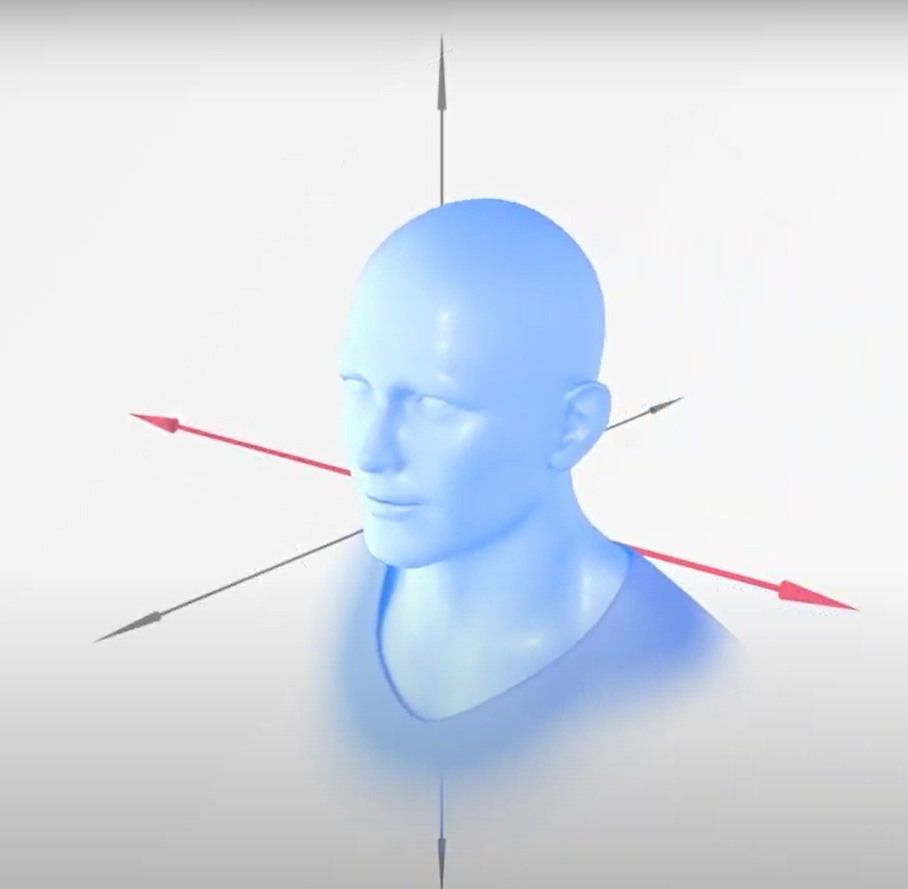
- With 3DoF or Three Degrees of Freedom, only rotational motion can be tracked. In terms of the headgear, this implies that we can monitor if the user has tilted their head up or down, turned their head left or right, or pivoted.
- We can also track translational motion thanks to 6DoF. That implies that we can keep track of a user’s forward, backward, lateral, or vertical movement.
Basic Framework for Using VR in Unity
To create a VR experience in Unity, you will need to set up the project for VR development, create the VR environment, and add interactive elements.
Here are the general steps you can follow to create a VR experience in Unity:
- Set up your Unity project for VR development
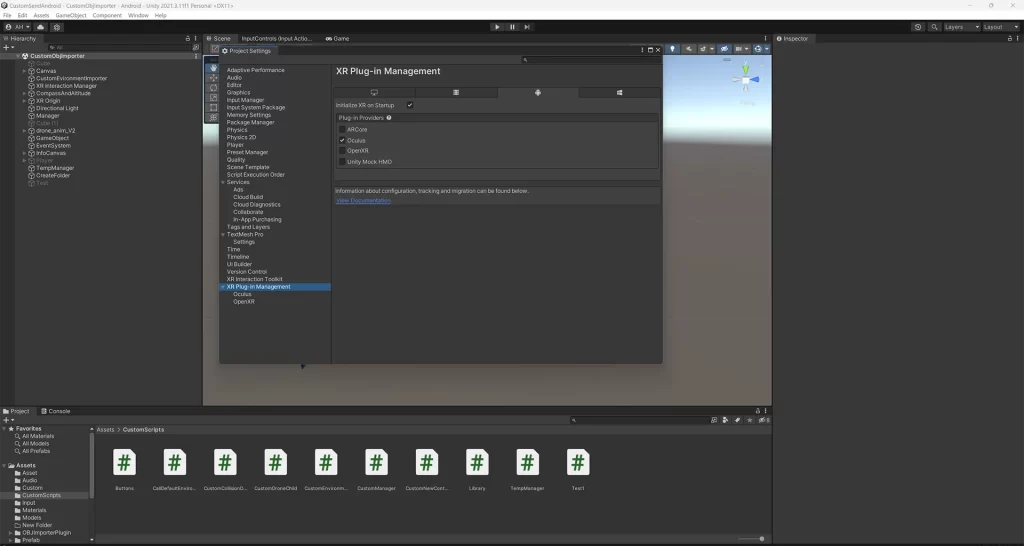
- In the Unity Editor, go to Edit > Project Settings > Player.
- In the Inspector window, under the XR Settings section, check the Virtual Reality Supported checkbox.
- Select your target VR platform (e.g. Oculus Rift, HTC Vive, PlayStation VR) from the list of Virtual Reality SDKs.
- Create your VR environment:
- Use Unity’s 3D modeling and level design tools to create a 3D environment for your VR experience.
- Add interactive elements to the environment, such as audio, video, and animations.
- Add interactivity to the VR environment:
- Create scripts to control the behavior of objects in the VR environment.
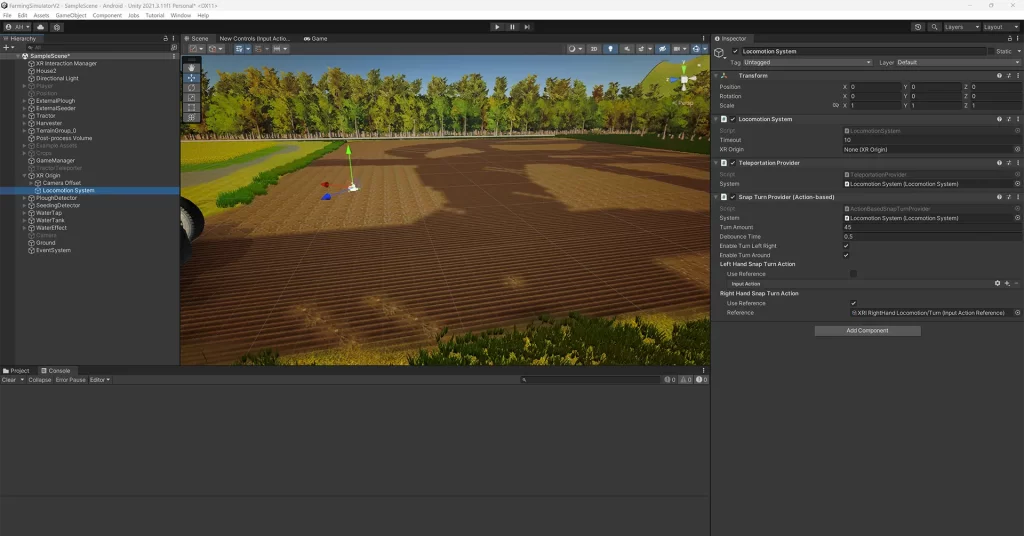
- Use Unity’s built-in VR components and scripts to allow the user to move around and interact with objects in the environment.
- Test and debug your VR experience:
- Use Unity’s Play Mode to test your VR experience in the Editor.
- Use Unity’s debugging tools to identify and fix any issues with your VR experience.
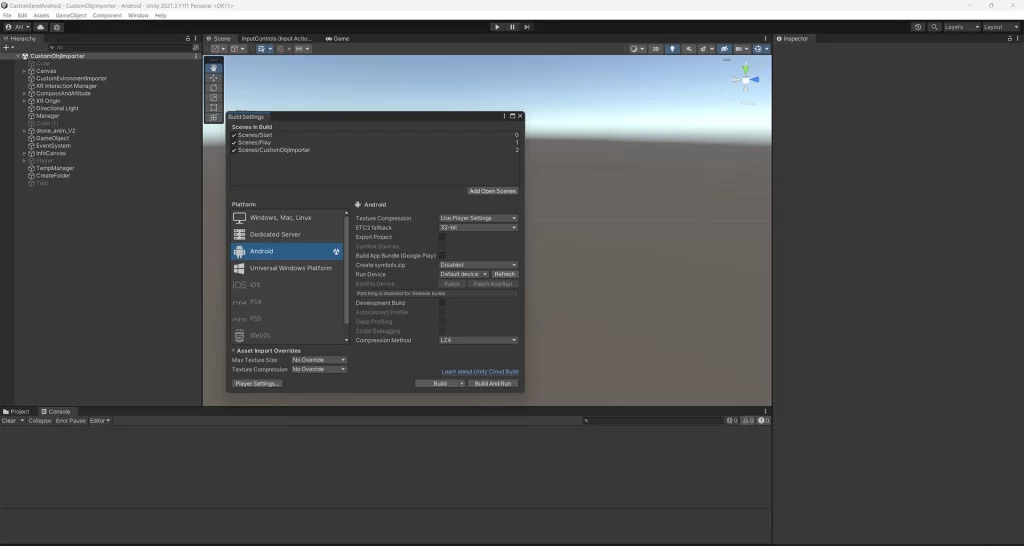
- Build and deploy your VR experience:
- Use Unity’s build tools to create a build of your VR experience for the target VR platform.
- Deploy the build to the VR device and test it to ensure it is functioning correctly.
Note: These are general steps and the actual process of creating a VR experience in Unity may vary depending on your specific requirements and the complexity of your project.
Workflow we follow for Game Development on Unity
- Game Designing – It’s the pre-production phase where we finalize the narrative, game structure, and gameplay rules and document all the details in the Game Development Document (GDD).
- Concept Art – Based on GDD, the style and look of a game are created. The concept artist also creates turnarounds for characters, enemies, environments, and other in-game objects. It is to facilitate 3D visualization.
- Game Assets Creation – Once the concept art is finalized, 3D & 2D modelers create the required 3D or 2D object on its basis.
- Animation – Now, after the models are created, they are animated as per the game design. Hence, we can go for Rigged human body animation or inorganic animation as per requirement.
- Level Designing – Here, we create the stages of the game. Level designing consists of determining player capabilities, obstacles, game mechanics, and discoverable elements for a positive user experience.
- Game Mechanics Creation – Once the levels are ready, we move to game mechanics creation. Game mechanics include the base programming of the game. It establishes the rules governing interactions between gamers and the game.
- AI integration – Now, we integrate AI into the game. It’s to generate responsive, adaptive, or intelligent behaviors in the non-player characters (NPCs), environmental objects, and others.
- Game Optimization – Optimization helps increase the game’s performance for better gameplay and visual experience. This process ensures that the game works at the same level across a wide range of hardware specs.
- Game Testing – In this stage, the testers identify, document, and resolve issues for game quality.
- Publishing – Lastly, the game is published on different platforms. Here the cross-platform capability of Unity comes into play.
Finding your way around Unity
You might feel a little overwhelmed by the sheer number of windows, icons, and options when Unity initially starts up. Fortunately, things are easier than they seem.
Following are the primary windows you’ll be observing and what each one does:
Hierarchy
By default, this displays a lengthy list of every GameObject in your “scene” on the far left. This makes it simple for you to find and choose any part of your game to modify its properties. Simply put, “game objects” are things that you include in your game.
(The fundamental objects in Unity that represent people, objects, and landscapes are called GameObjects.)
Scene
This is a large window in the center of the Unity program. This displays a perspective of the scene—also known as the level, menu, or game world—that you are now operating in. You can easily drag and drop, resize, and grow GameObjects in this window.
Game
This can be accessed by clicking the tab at the top and is typically concealed beneath the Scene window. The Game View displays your scene as it appears in the game. This implies that you won’t be able to manipulate objects and will instead have the same viewpoint as the camera. Additionally, this is where the game runs when you test it.
Asset Store
Additionally located on a tab, the asset store gives you access to “assets” created by the community.
Inspector
This window can be located on the UI’s far right side. You may see and modify the properties of a chosen GameObject in the Inspector. This could entail altering the size (scale), positioning (transform), or adding “components” like colliders or C# script.
Project
The project window, found at the bottom of your screen, will display every file that goes into creating your game. You can create C# scripts here, then choose to open them in Unity. If you want to use 3D files or textures in your game, you can easily drag and drop them here.
Console
The console is the last place where you can view data from Unity itself. This will inform you of any faults or warnings in your code as well as any setup-related problems with the Unity software.
Conclusion
Virtual Reality technology has a promising future. There are already so many applications for it, and there will be many more in the future. The virtual reality industry is currently seen as a technology with the highest projected potential; it is predicted that virtual reality investment will multiply considerably in the coming years.
Businesses can achieve new heights thanks to Virtual Reality in Unity, which also offers unparalleled prospects for immersive experiences. VR appears to have the potential to revolutionize the way we view technology in just five years!
Well, at Queppelin, you can hire our top-notch team of Unity developers. Our team of professionals can help you with project of any size.